Welcome to Moda Fabrics!
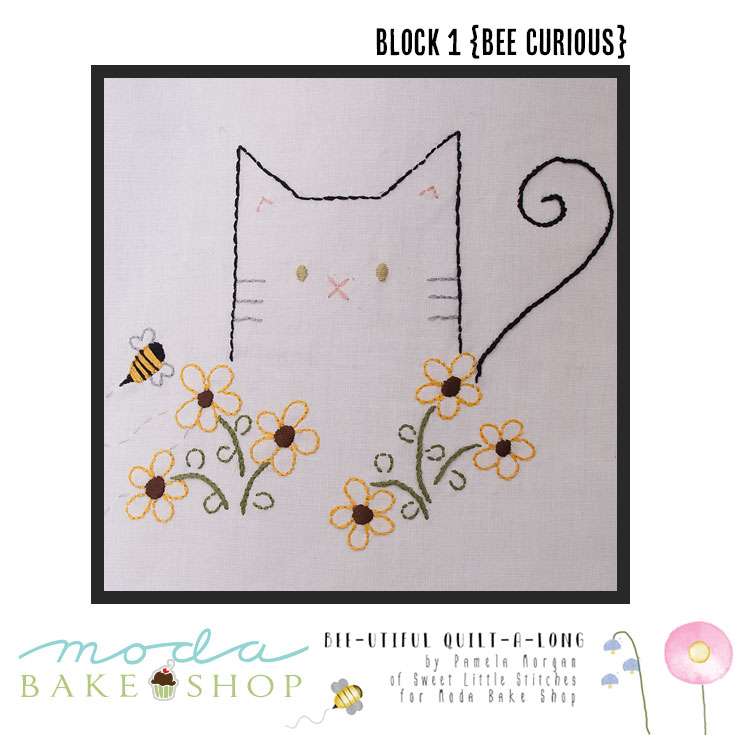
Bee-utiful Quilt-a-long {Block 1 - Bee Curious}
Bee-utiful Quilt-a-long {Block 1 - Bee Curious}
NOTE: This quilt-a-long has wrapped up. If you are looking for the full set of embroidery patterns and quilt assembly instructions, please visit the final post {here}.
Hello there! Since I'm a new Moda Bake Shop Chef, I'd like to introduce myself. I'm Pamela Morgan from Sweet Little Stitches. I'm the designer of the Bee-utiful Quilt-a-long for the Summer Sewing Camp.
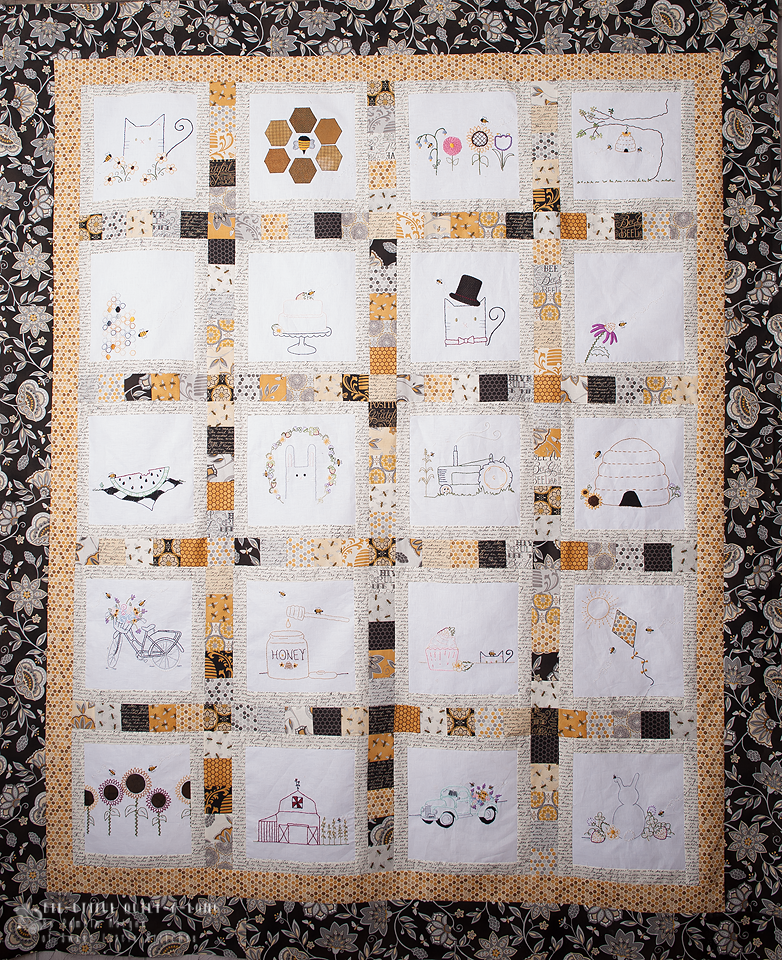
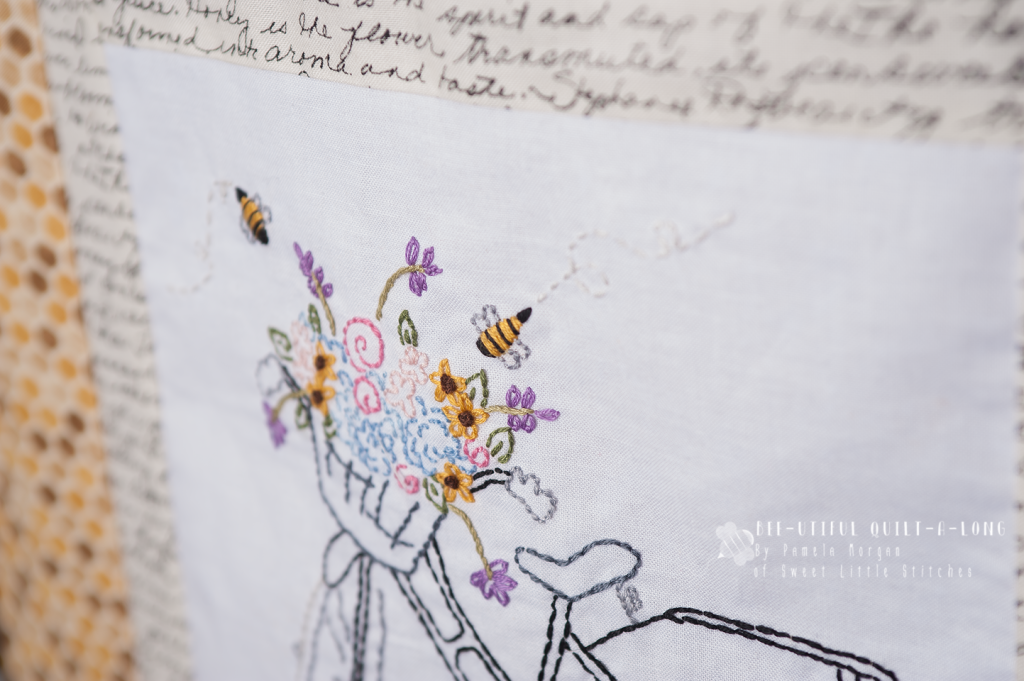
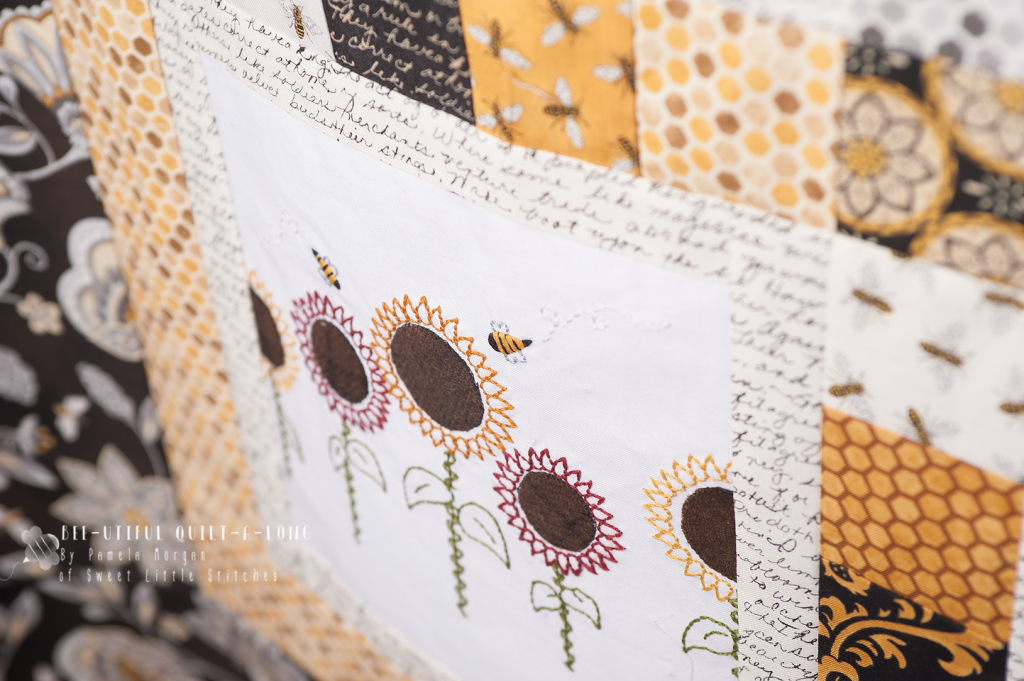
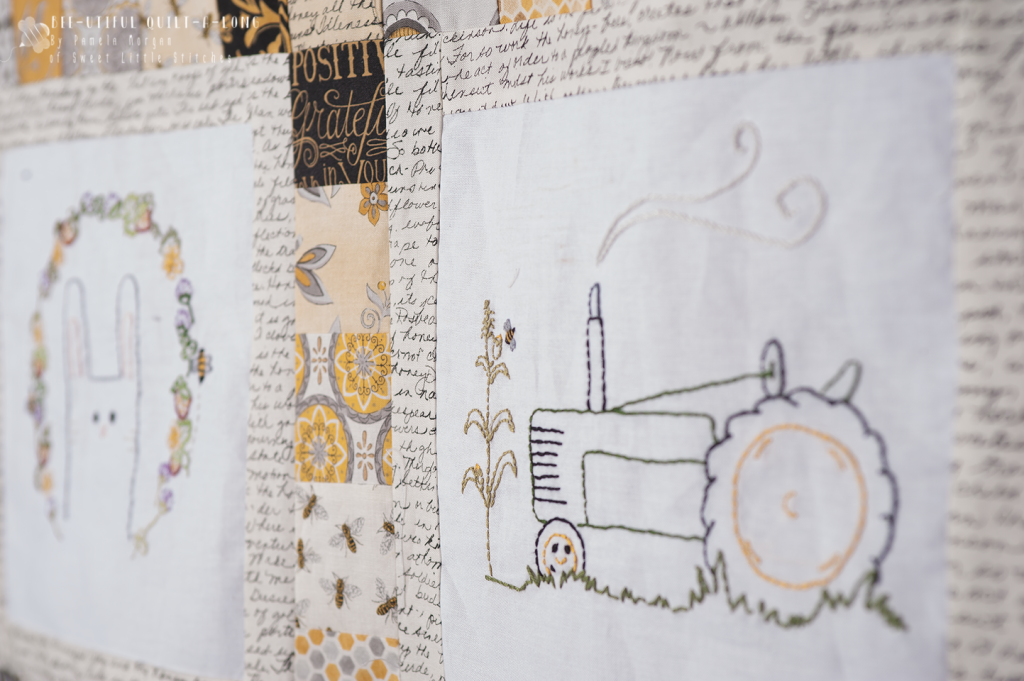
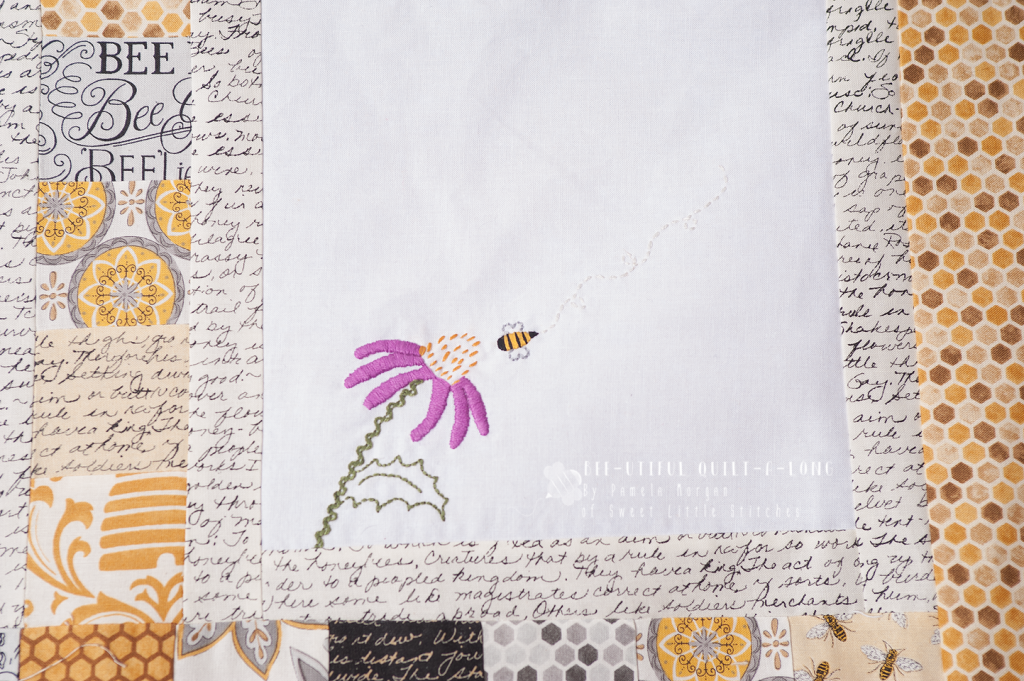
The quilt-a-long features twenty of my original embroidery designs, and each block has one (or more) adorable little bee!
The best part about this quilt is that it's charm pack friendly. I also have a "thing" for designing custom labels for every quilt I make, and this one is no different.
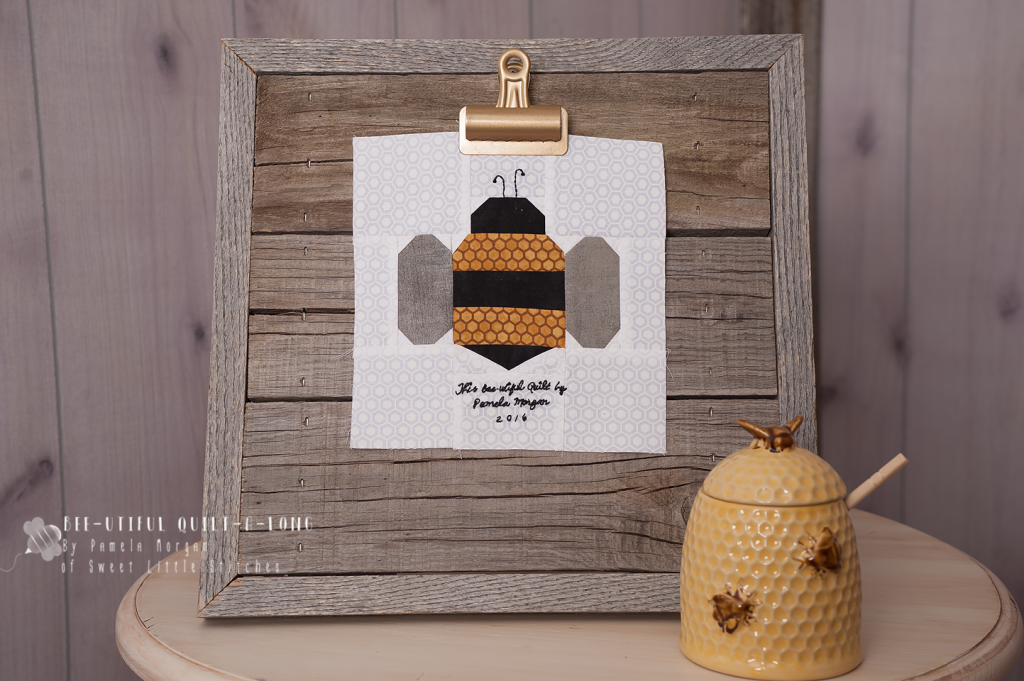
This time, I've designed an adorable paper-pieced bee. If you're unfamiliar with embroidery or paper-piecing, never fear! I'll guide you along, every step of the way with easy-to-follow video tutorials (The video for block one is at the end of this post), and I've created a special Facebook group as well, where you can feel free to ask questions and share your work!
So, shall we get started?
The Bee-utiful quilt finishes at 58" x 70". Each block measures 10" finished.
{for the quilt}
1 5/8 yd Bleached White Bella Solid (For embroidery foundation)
1 charm pack or 4 mini charm packs (I used Bee Creative by Deb Strain) (sashing)
1 yd cream handwriting print (Block border)
½ yard tonal honeycomb print (inner border)
1 1/4 yd large black floral (outer border)
4 yards backing fabric
5/8 yd Black Bella Solid (binding)
Various colors six-strand embroidery floss
Small scraps coordinating hand-dyed wool or coordinating cotton scraps for appliqué (optional)
4" and 5" embroidery hoop
Stabilizer (optional)
CUTTING
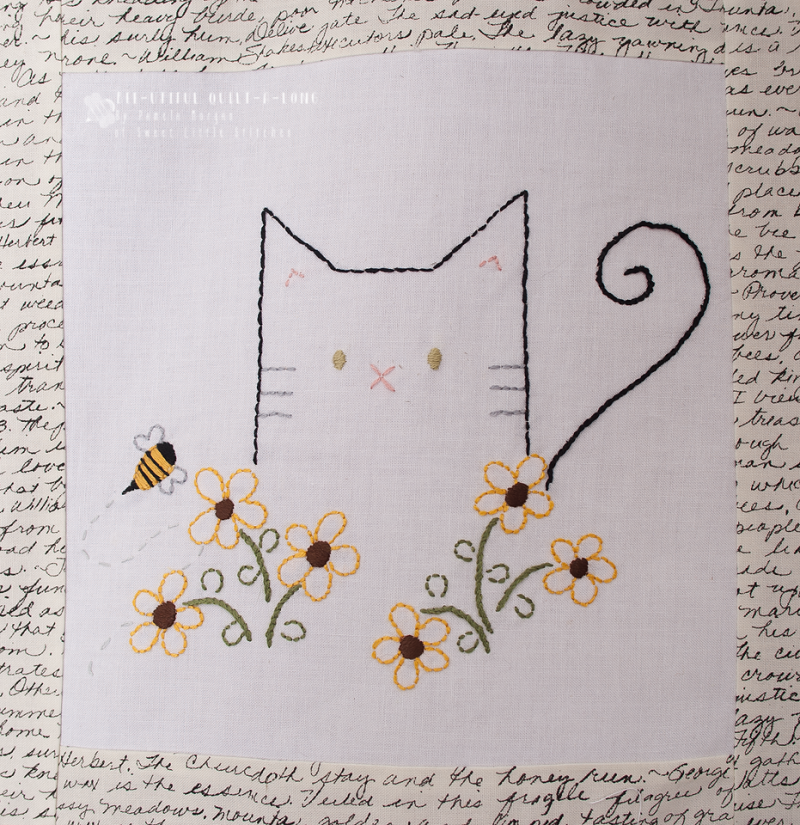
One bee-utiful cat! Each block measures 10" finished.
I hope you enjoy making this quilt as much as I have! Come back next week (June 16) for blocks 2 and 3. And, if you're on Instagram, don't forget to follow me @sweetlittlestitches and share your finished block 1 with the hashtags #beeutifulQAL, #beecurious, and #MBSsummersewingcamp!!! I can't wait to see what y'all create!
Pamela Morgan
{mysweetlittlestitches.com}
{QAL Facebook Group}

